hospital shootout
technology used
Source Engine
commentary playthrough
Above is a full playthrough of the blockout with live commentary detailing the design choices made throughout.
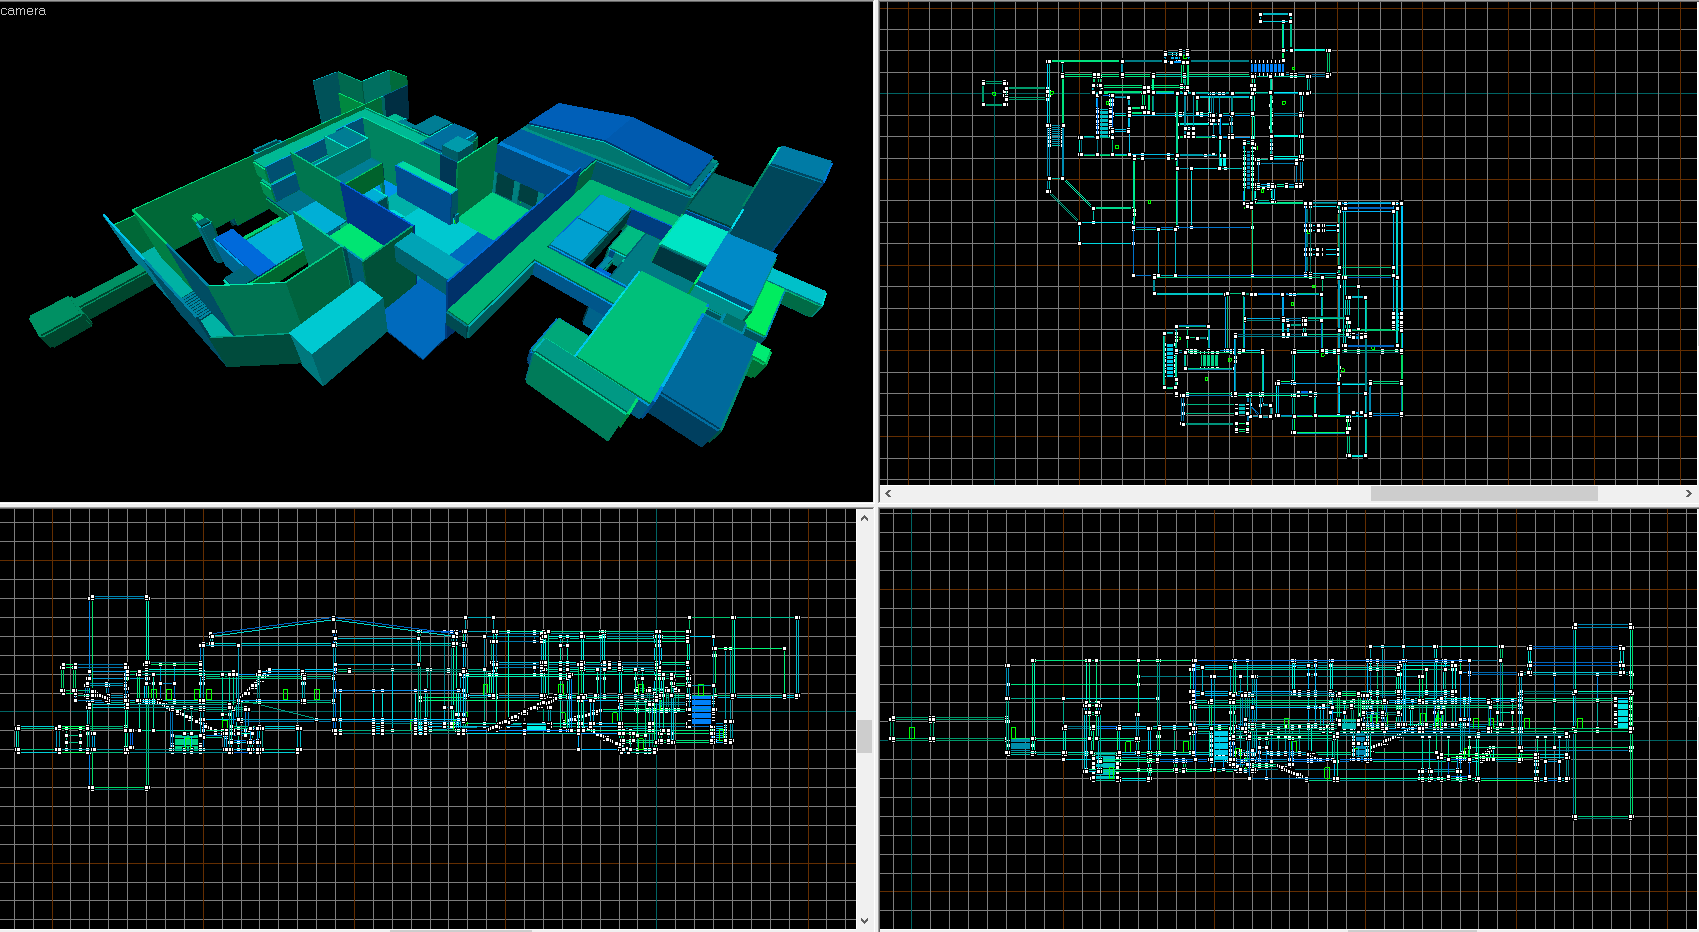
level sketch
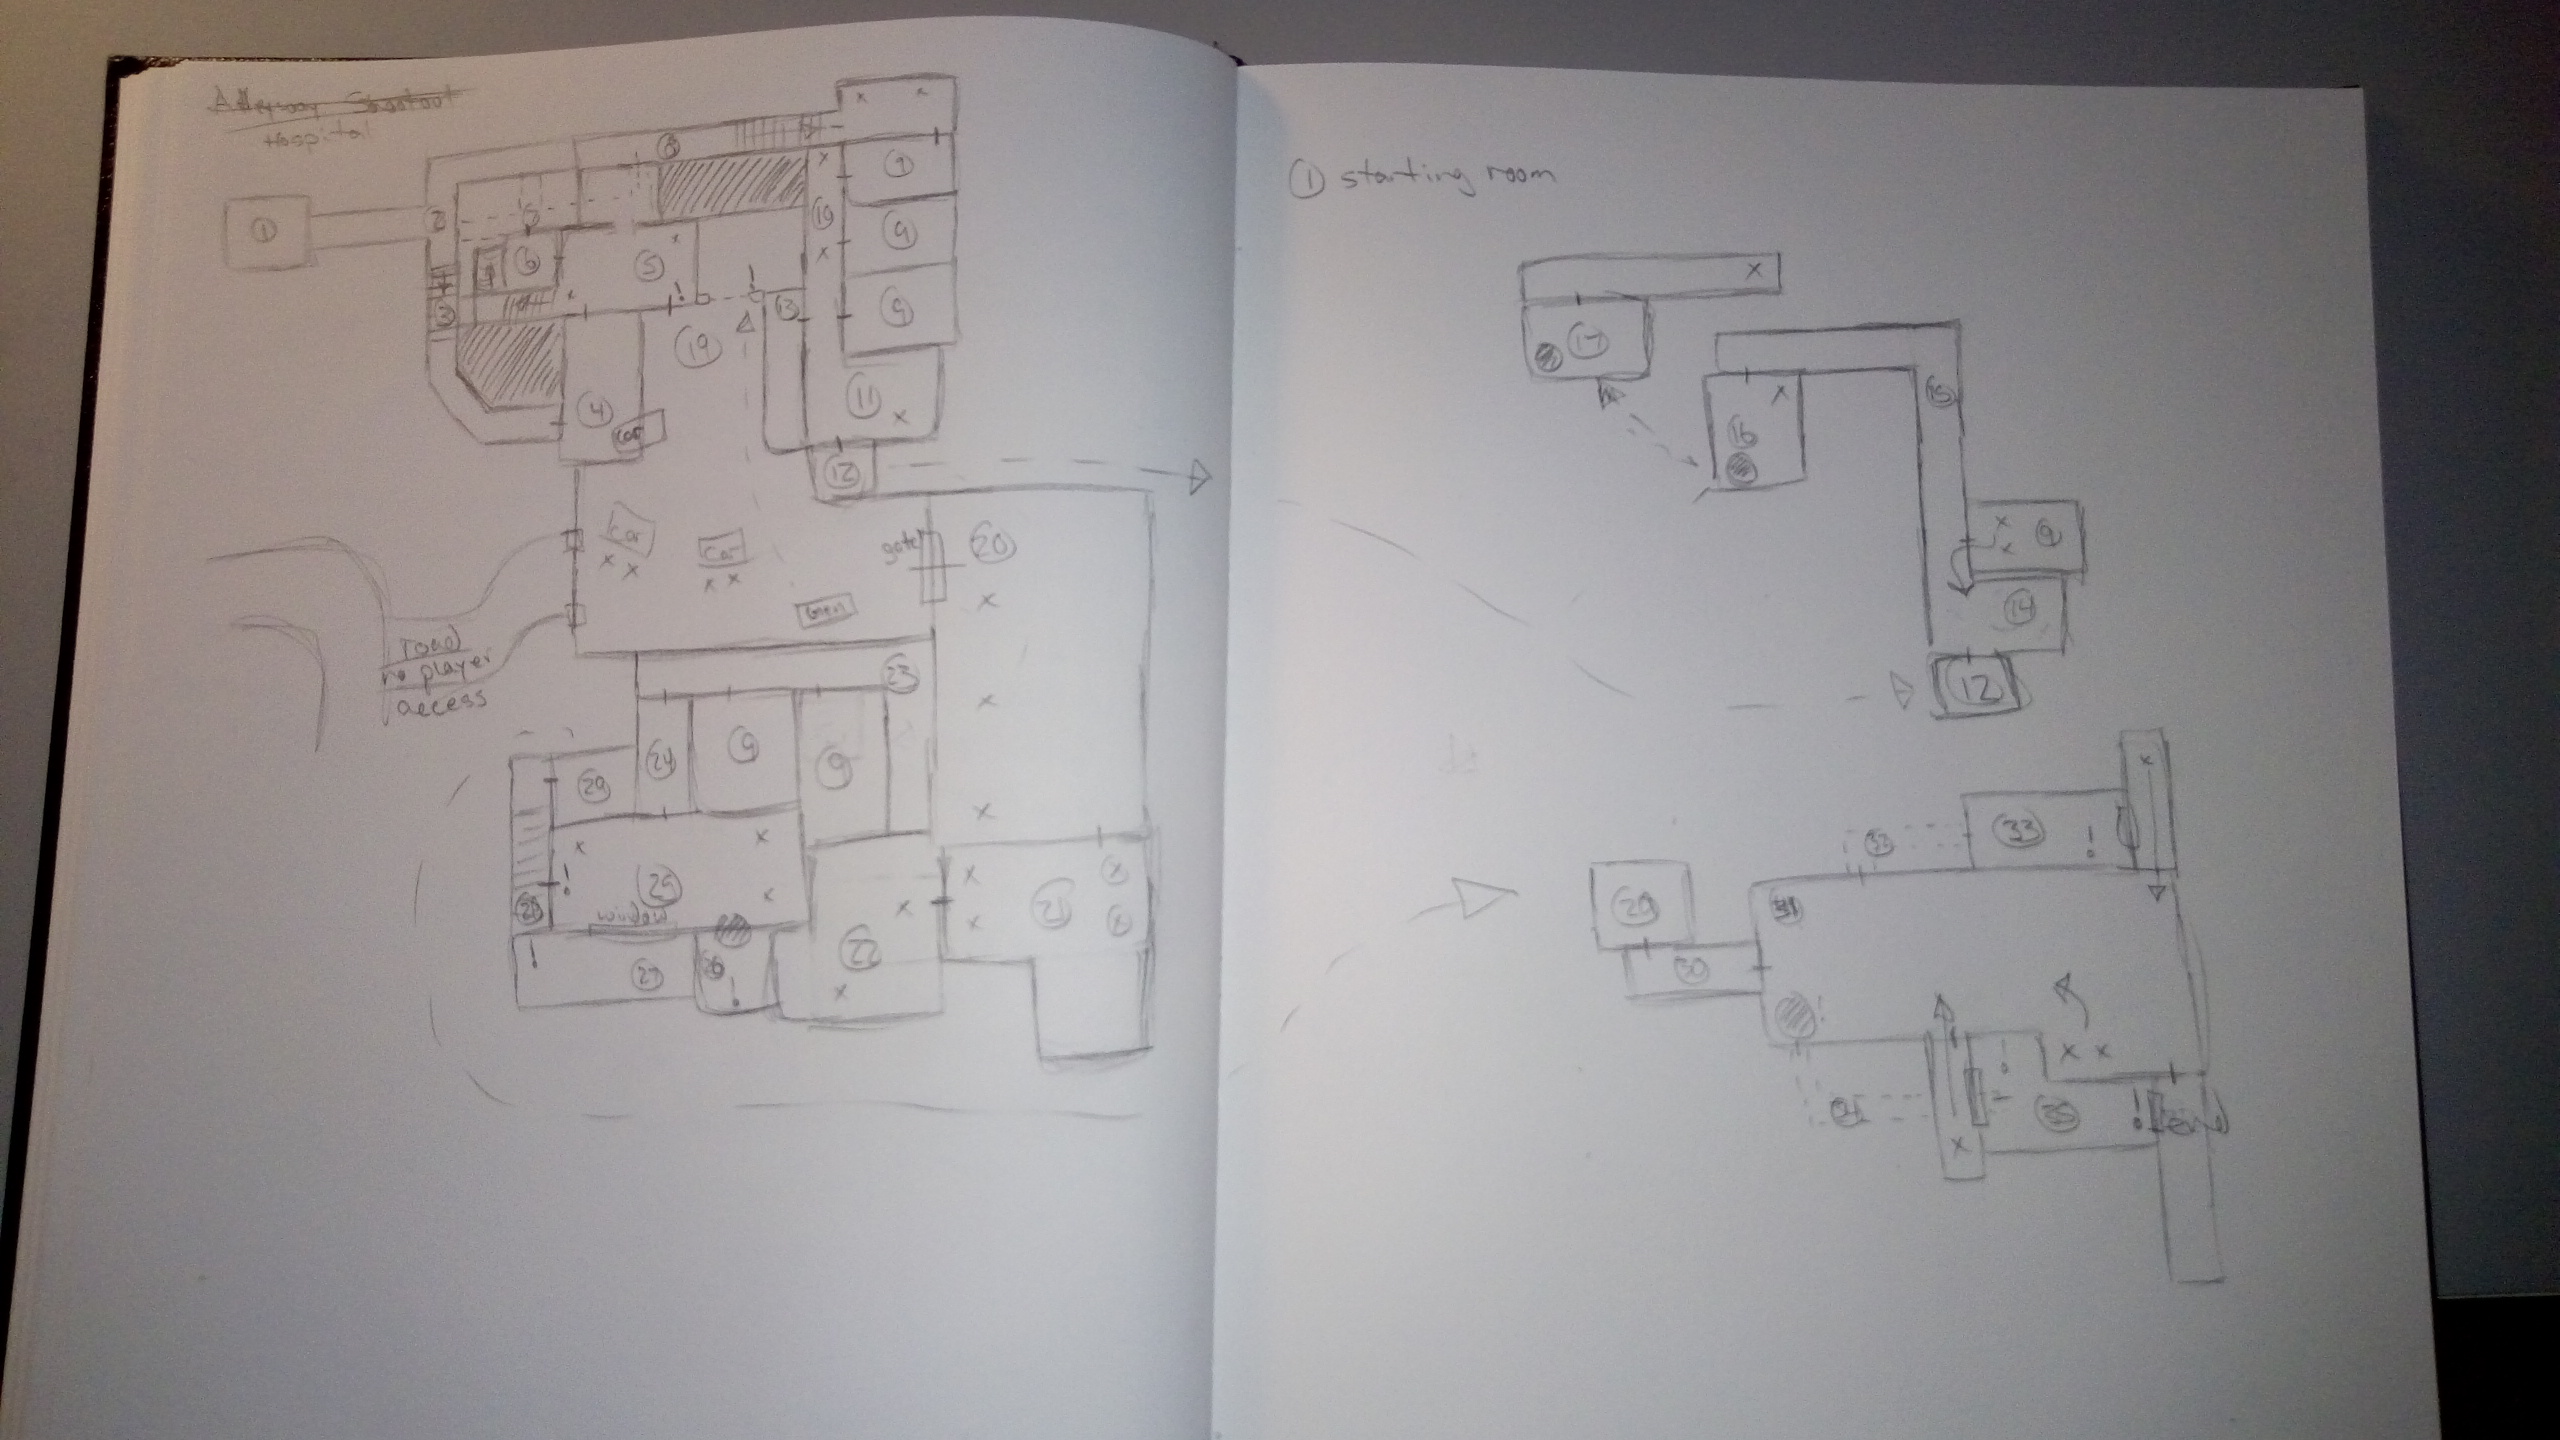
Above is my preliminary sketch. Each gameplay space has a number; this number then correlates to an entry on a separate sheet which details what that location is and what it's gameplay purpose is. For example:
4) Reception – Foreshadows parking lot and some zombies.
8) Back alley - First combine ambush.
13) Emergency exit staircase - Players can use this to get between hospital and parking lot later.
23) Hospital hall – Overlooks area 19. Pacing break.
33) Puzzle room - Allows player to enter area 35.
blockout third pass
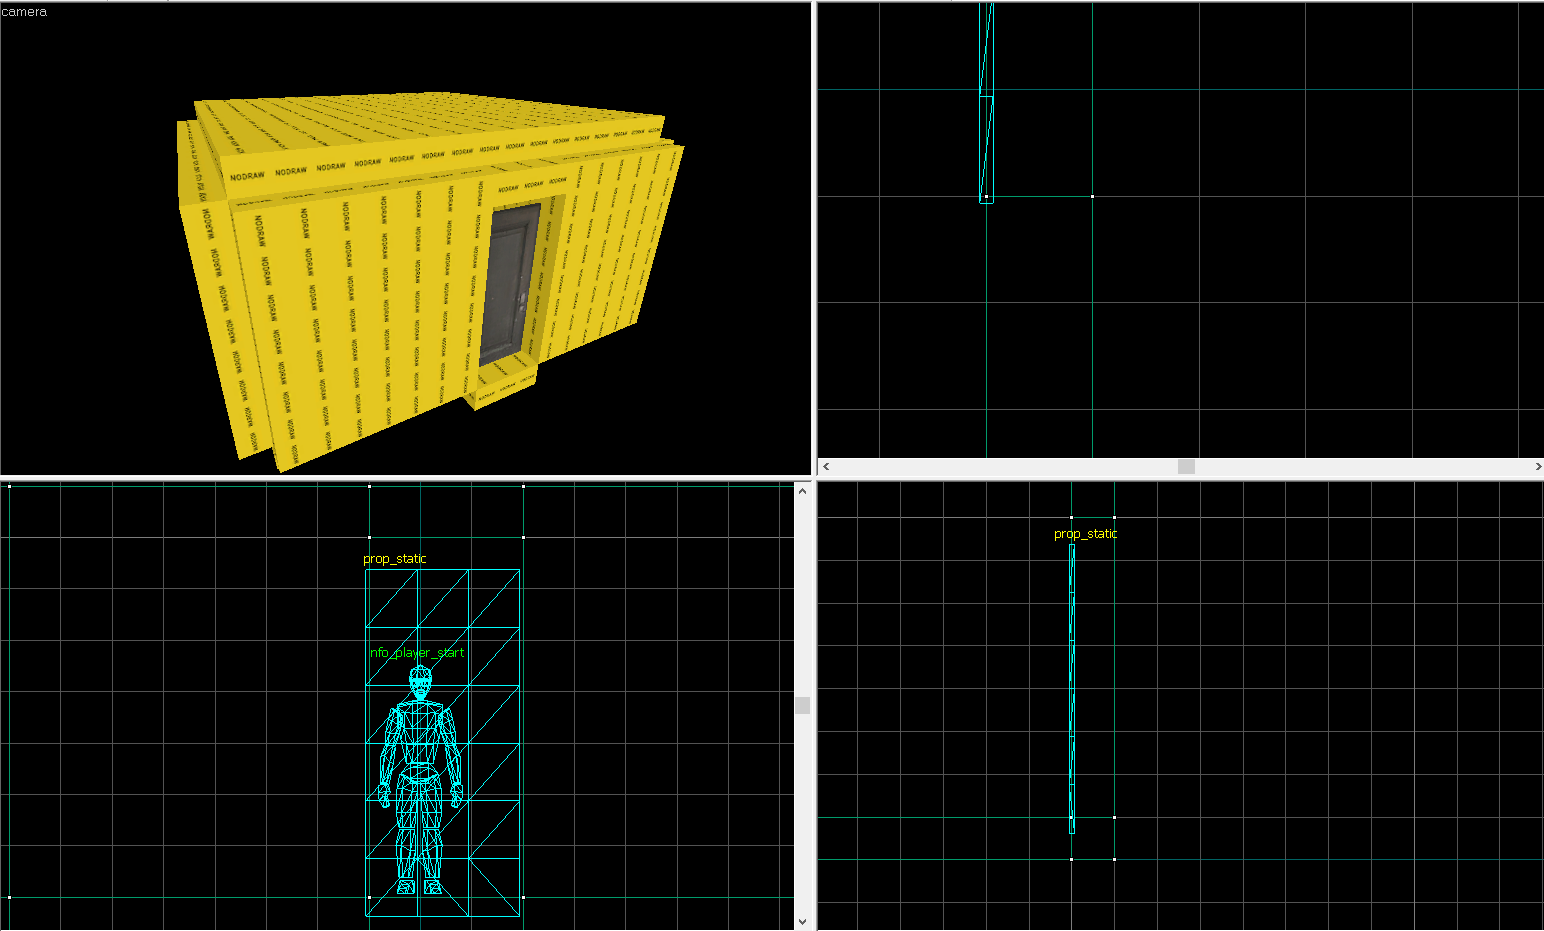
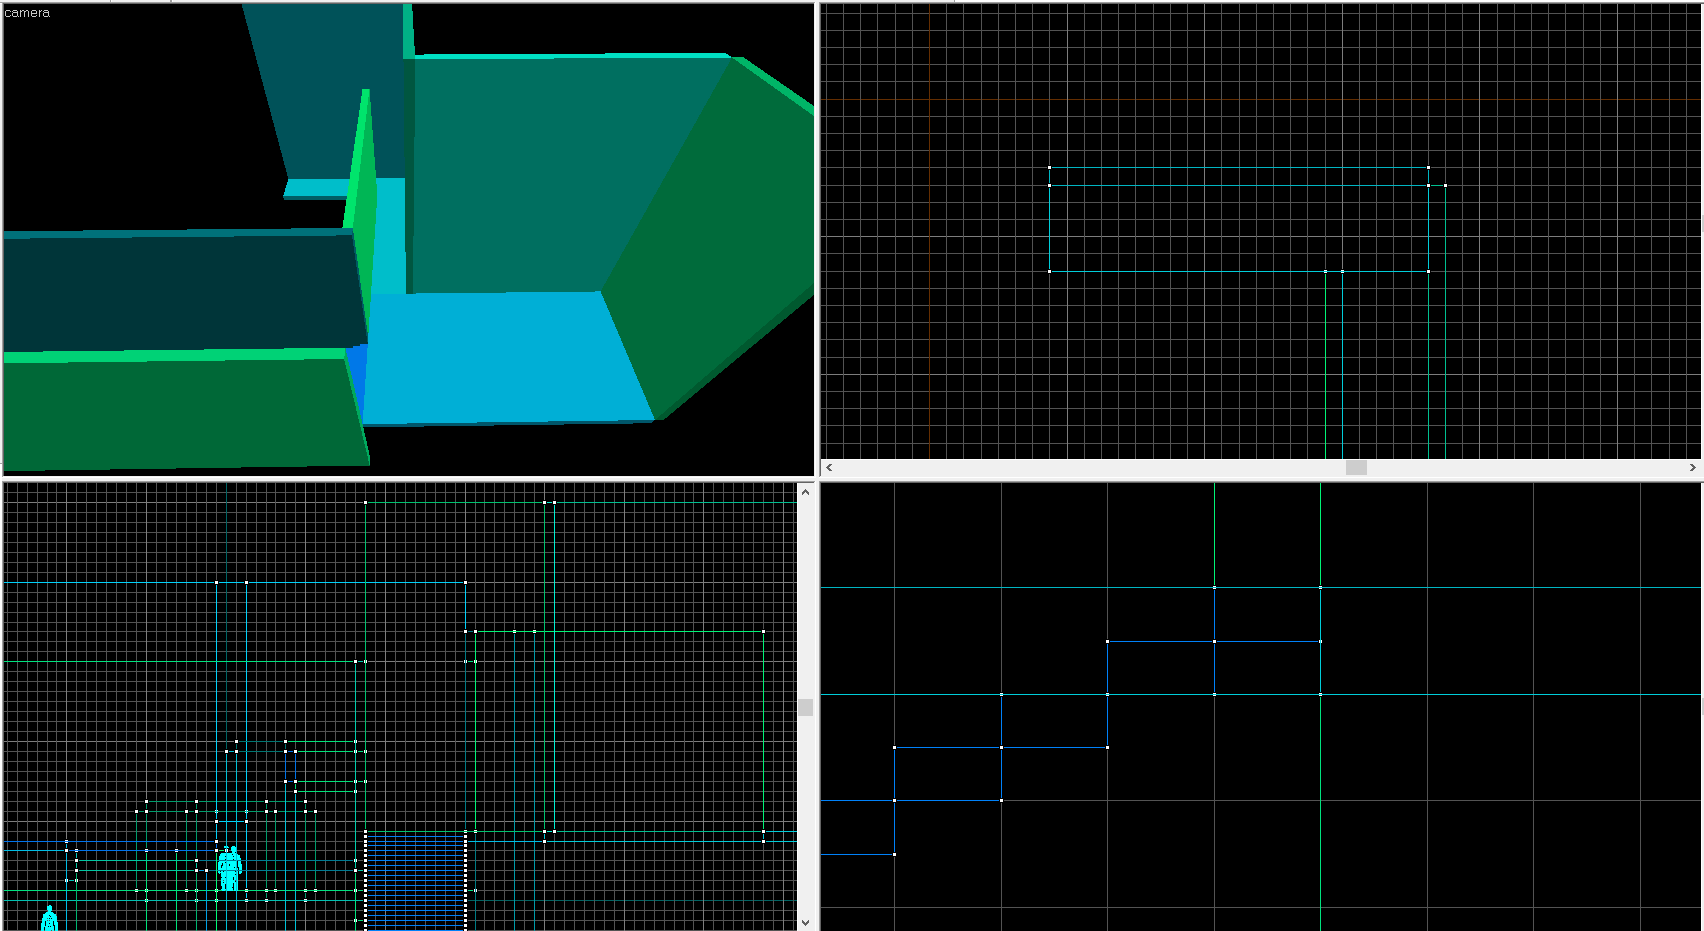
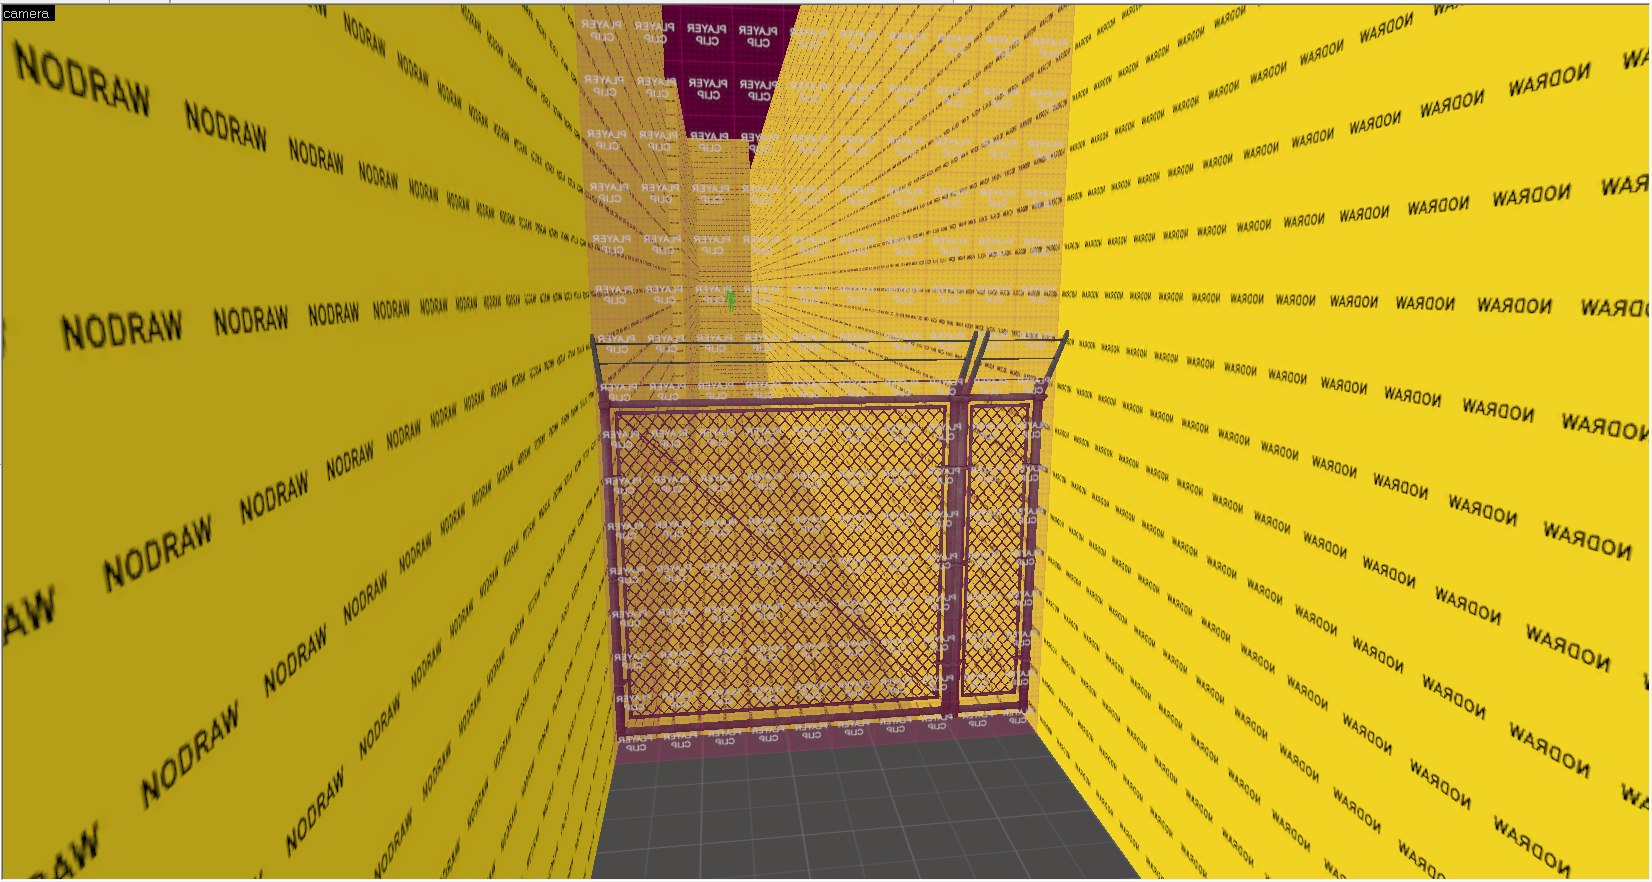
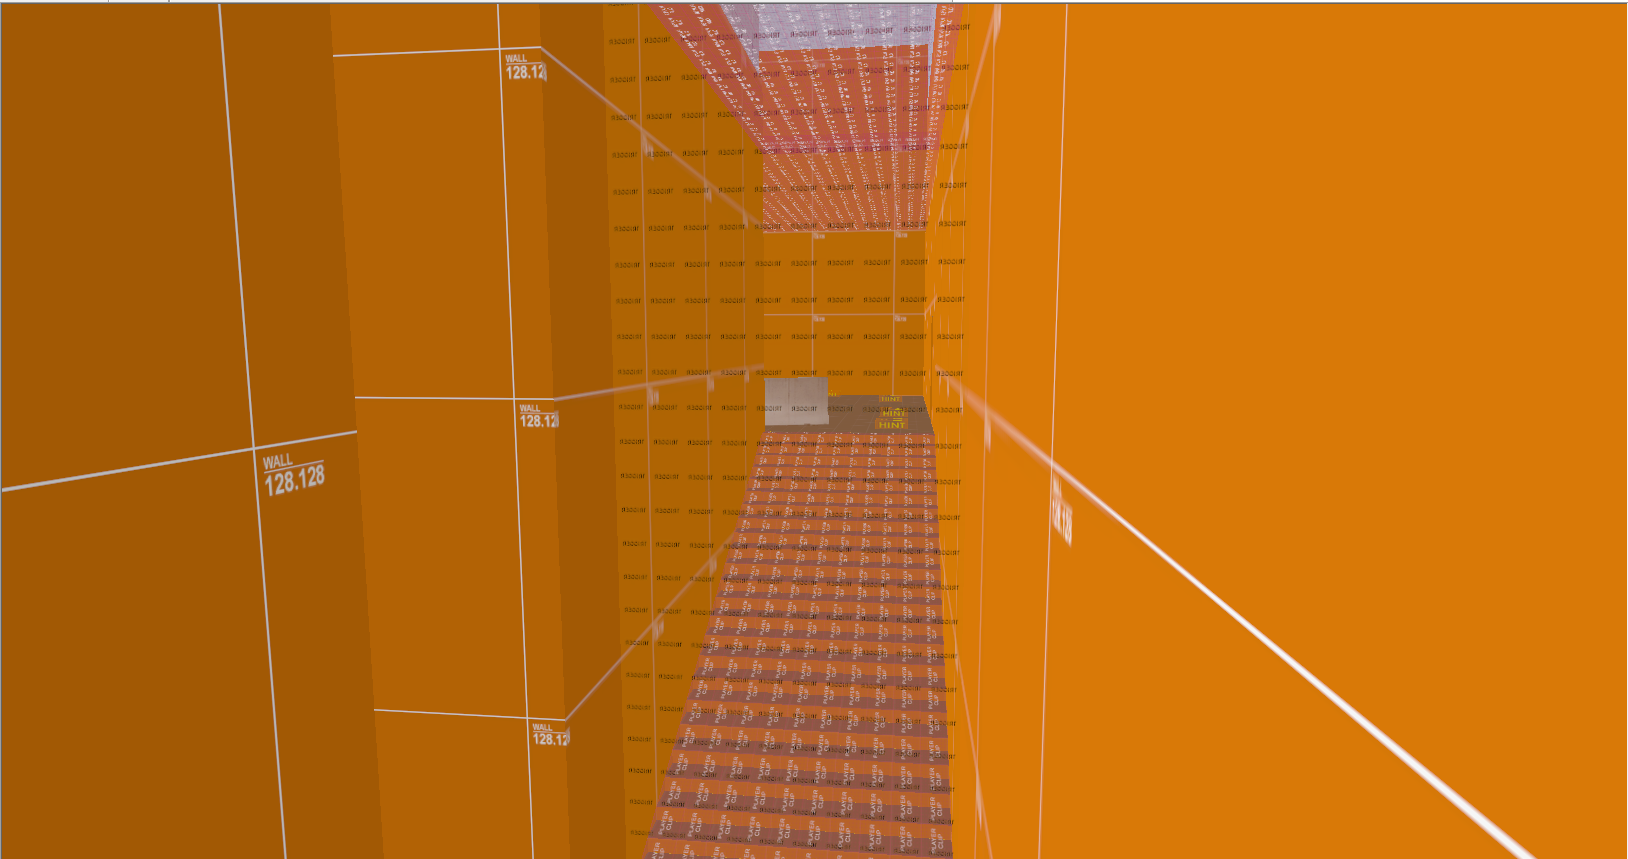
I begin building the rough geometry with the nodraw material which doesn't render in Source. By doing this, I won’t have to go back later and add nodraw to faces the player can’t see and I simply texture what they can; nodraw is the first step in ensuring an optimized map.
I build basic geo at a grid scale of 16 units. This lets me keep clean geometry and prevents any leaks - I find leaks occur more often when building at smaller grid sizes. A larger grid scale would cost me flexibility of the brush tool, and it would be hard to create basic geometry at the correct scale for the player.
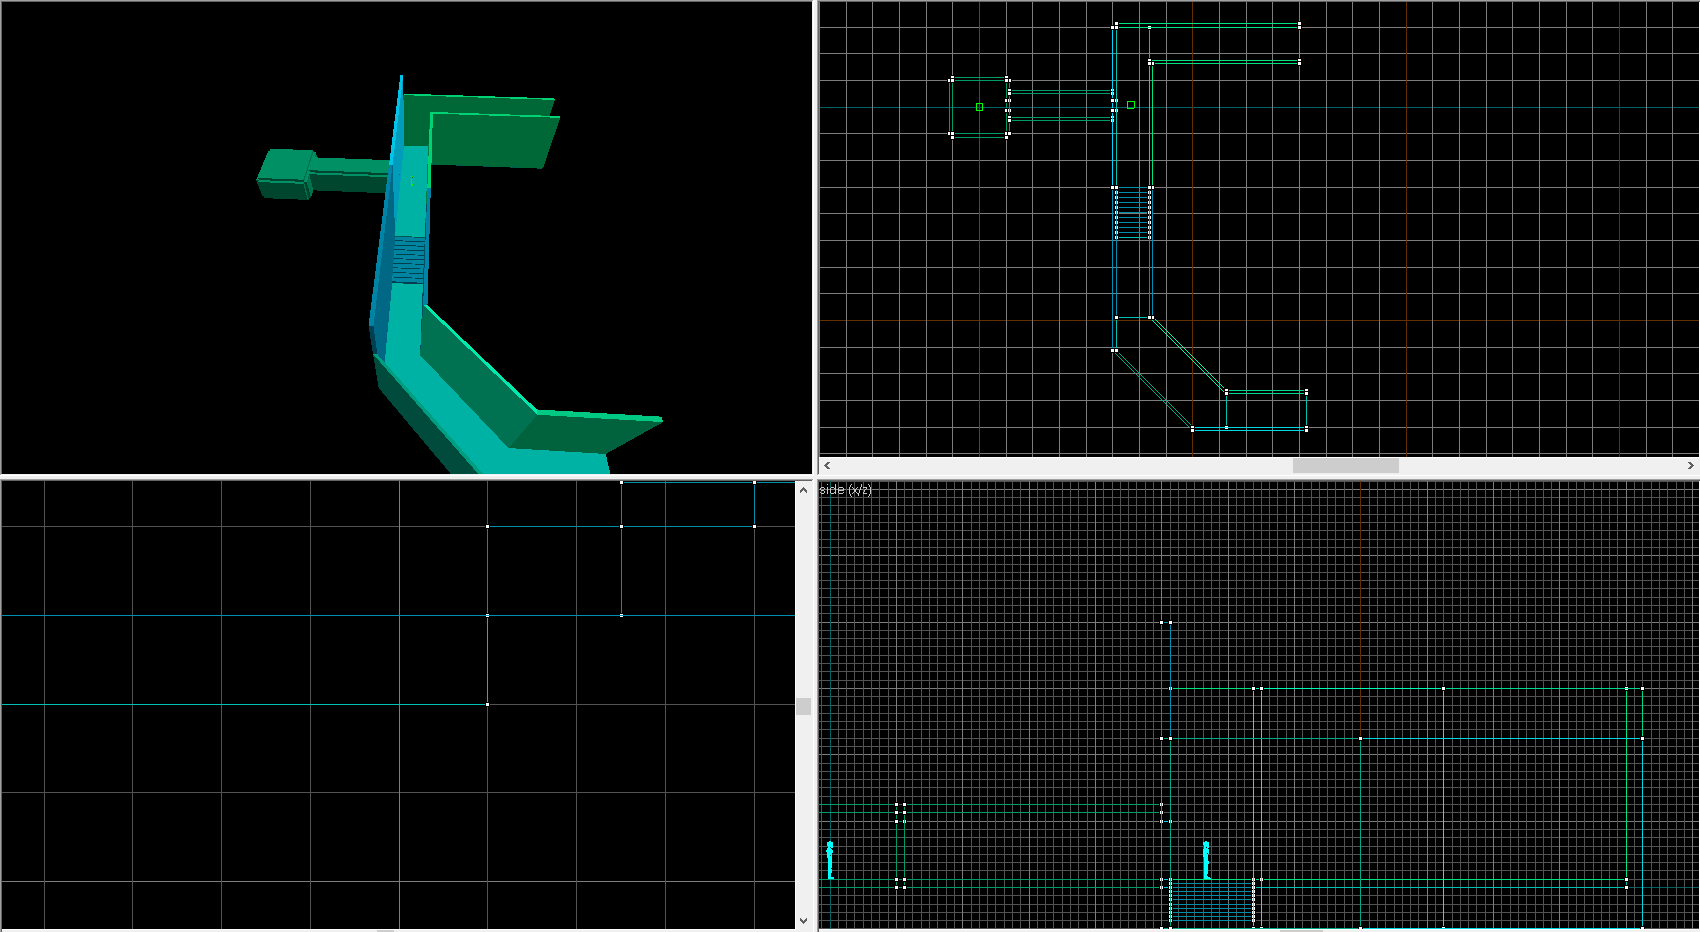
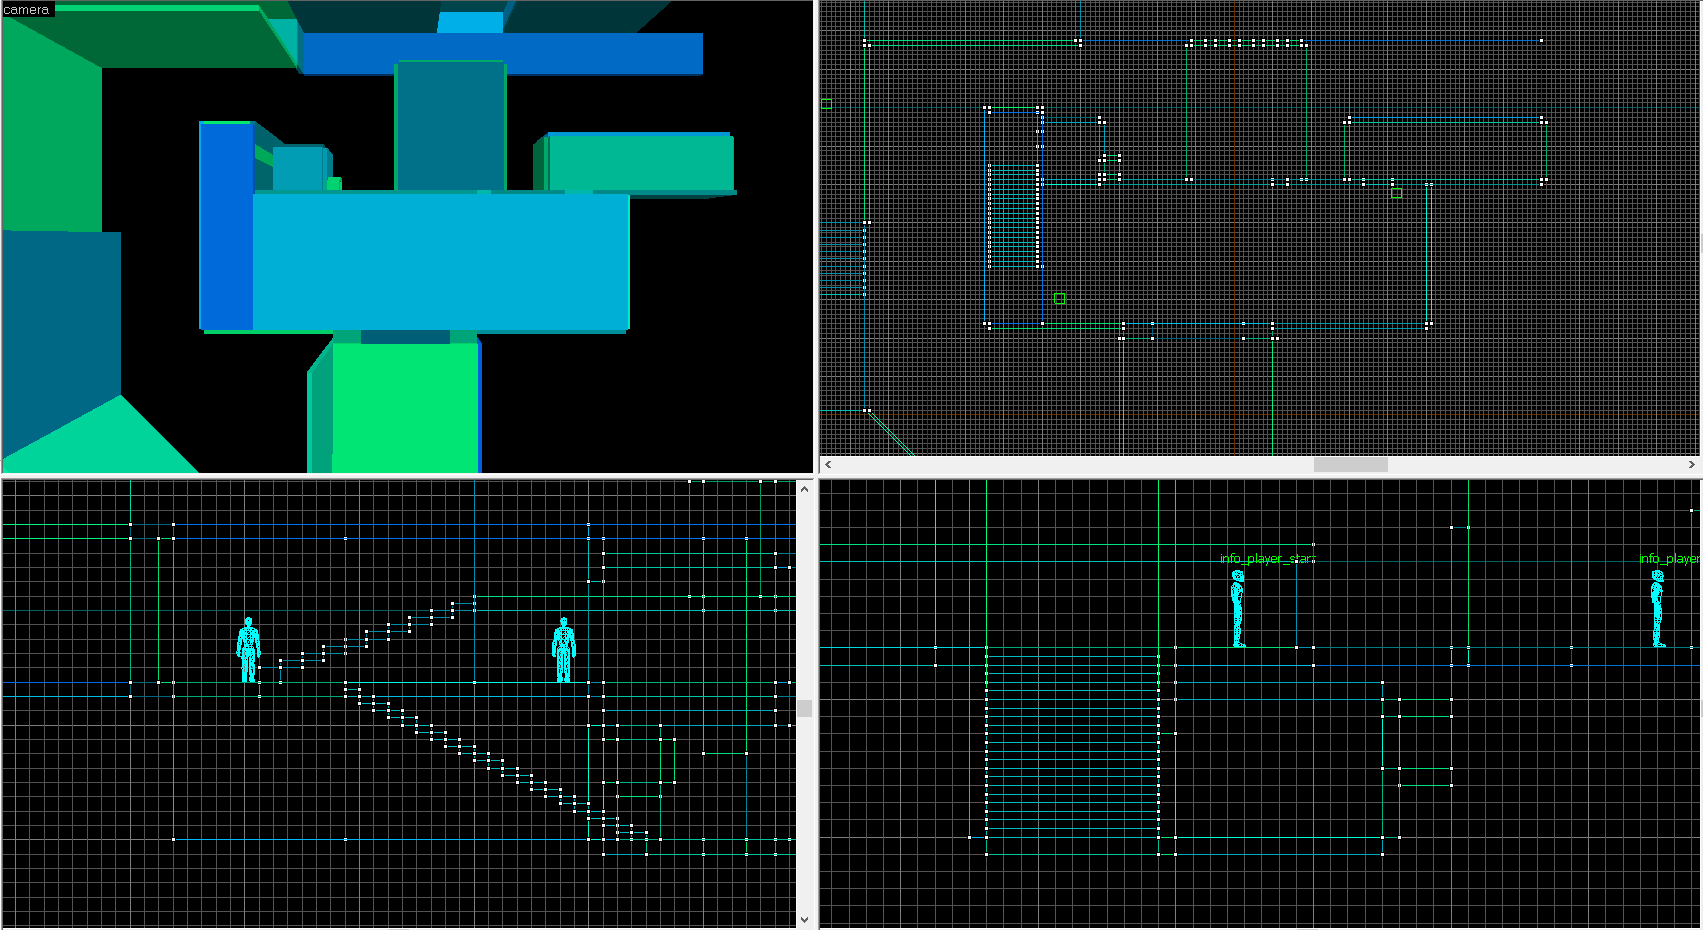
blockout second pass
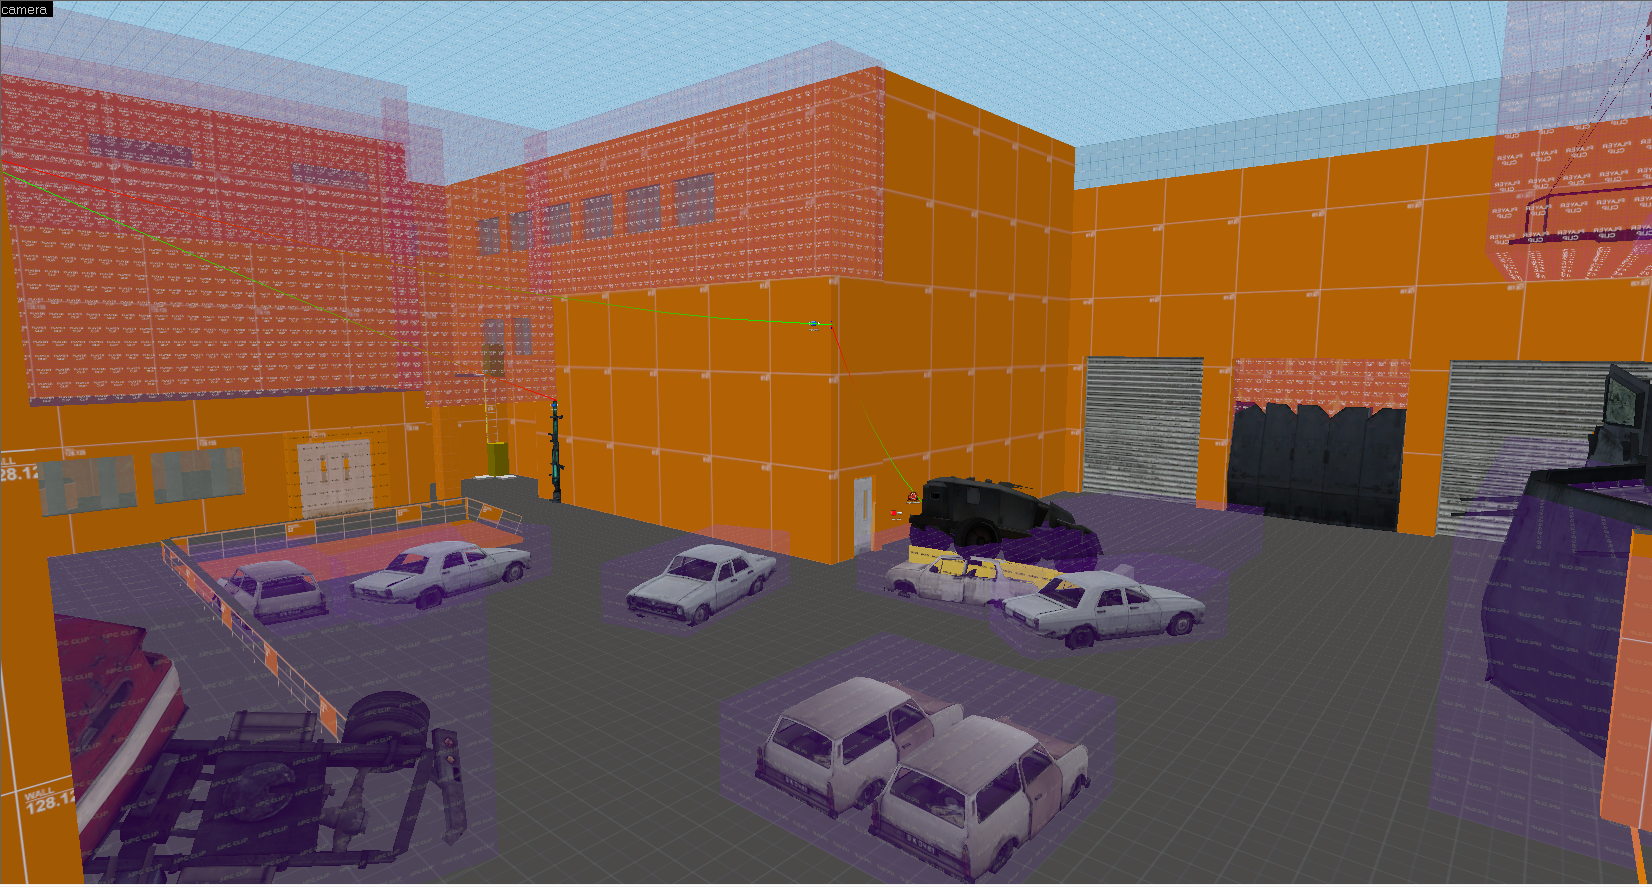
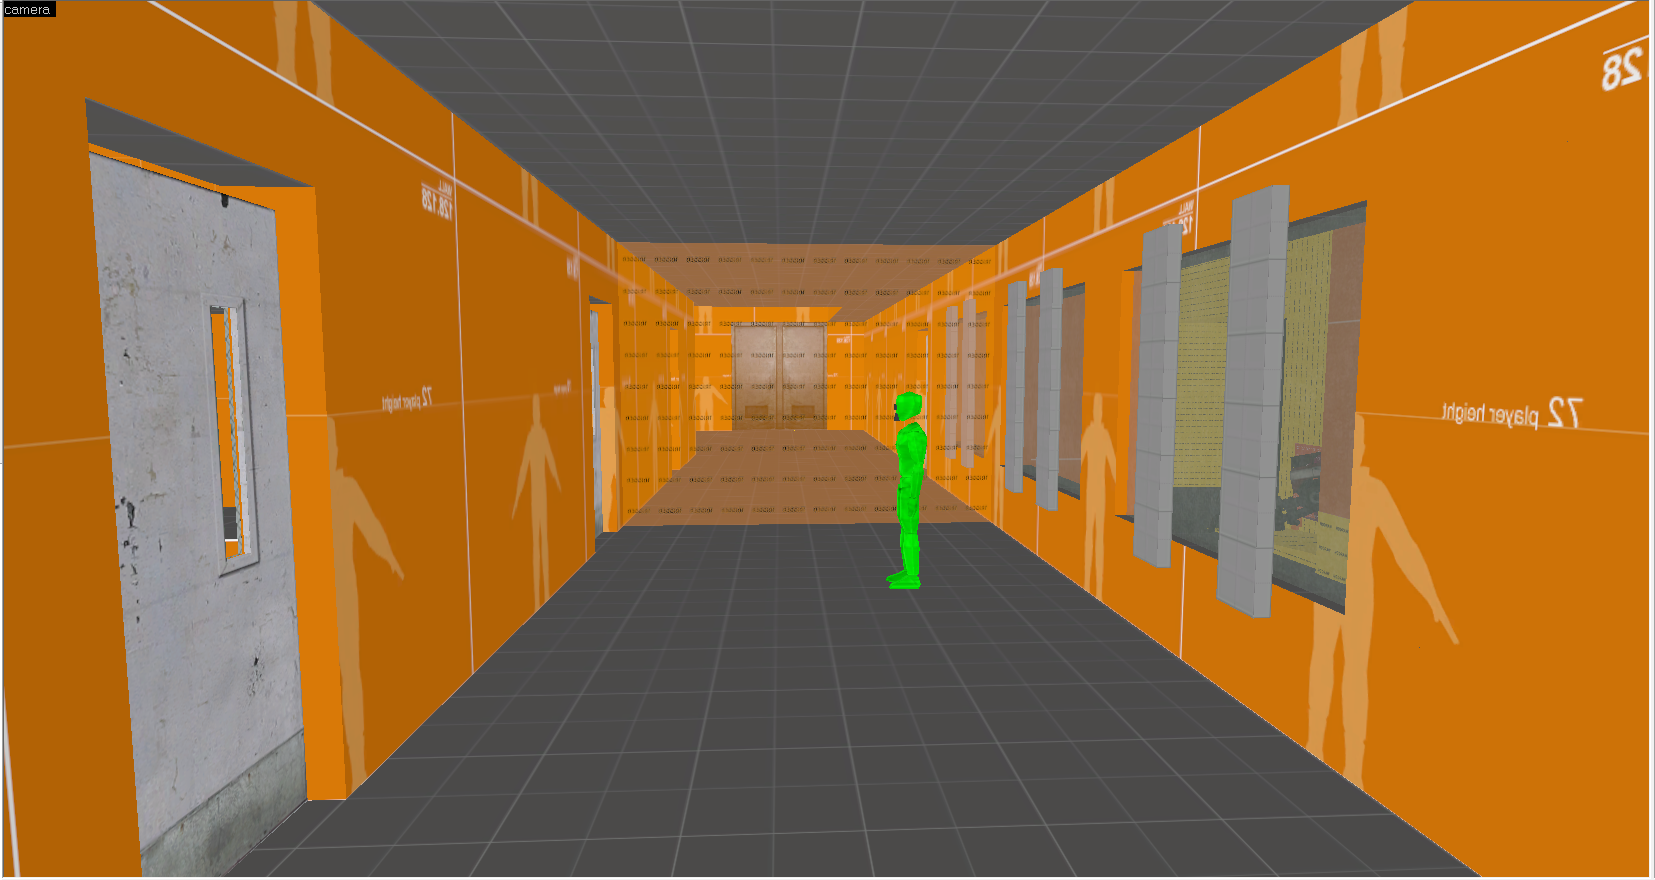

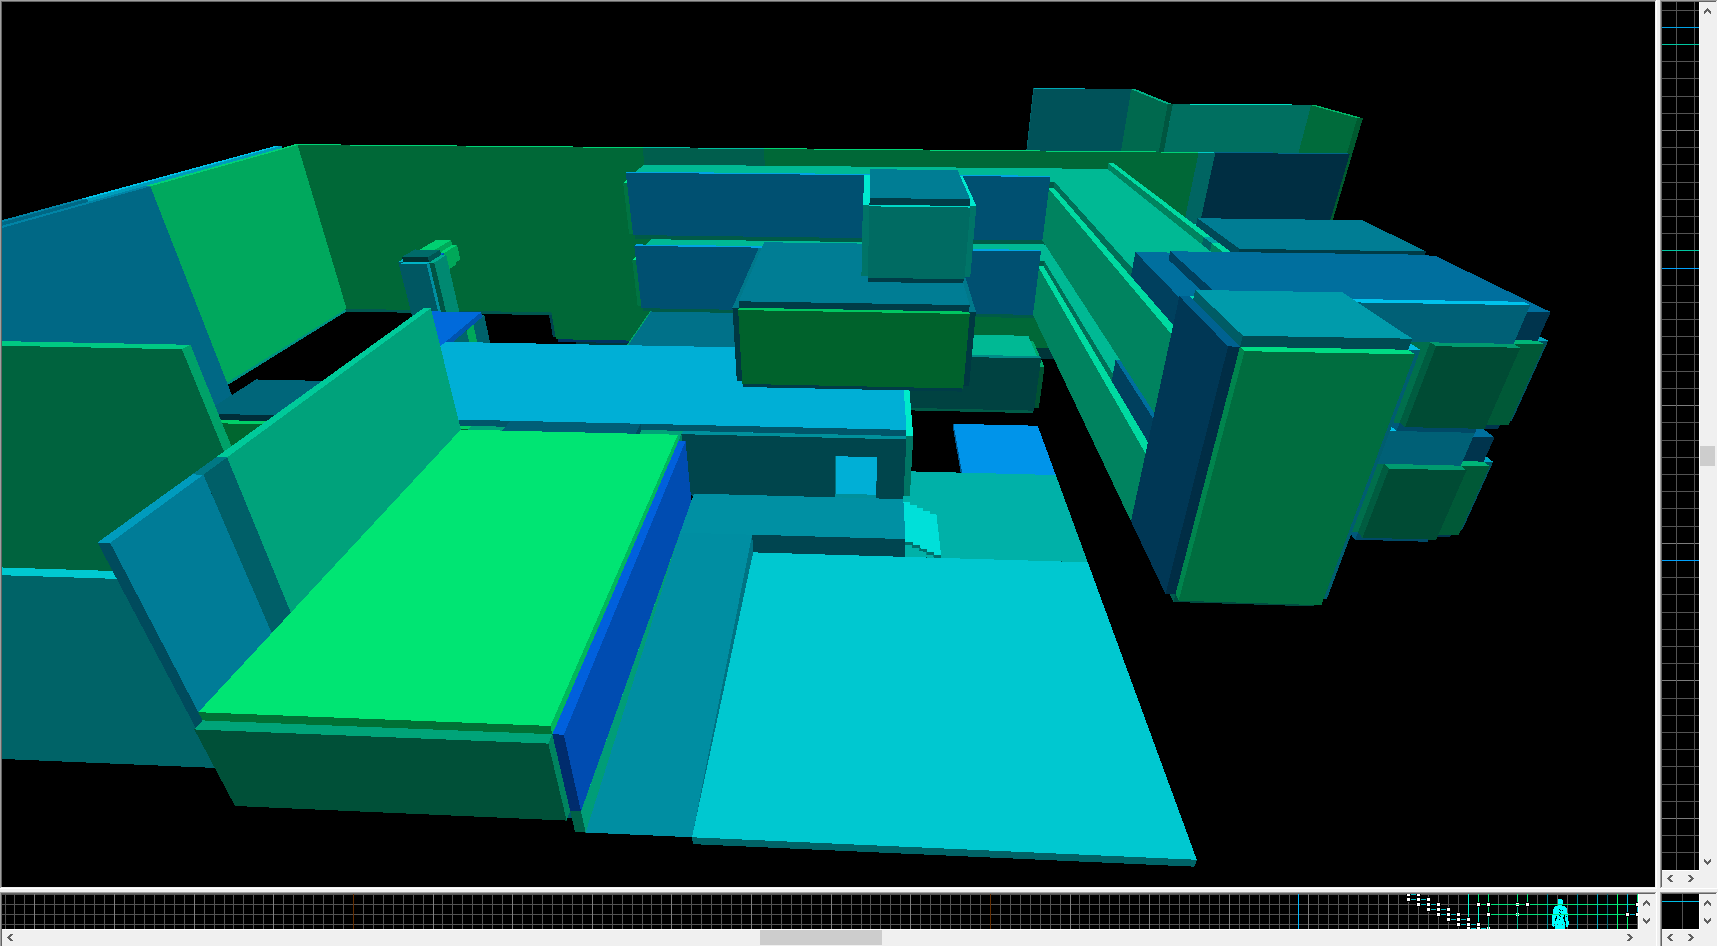
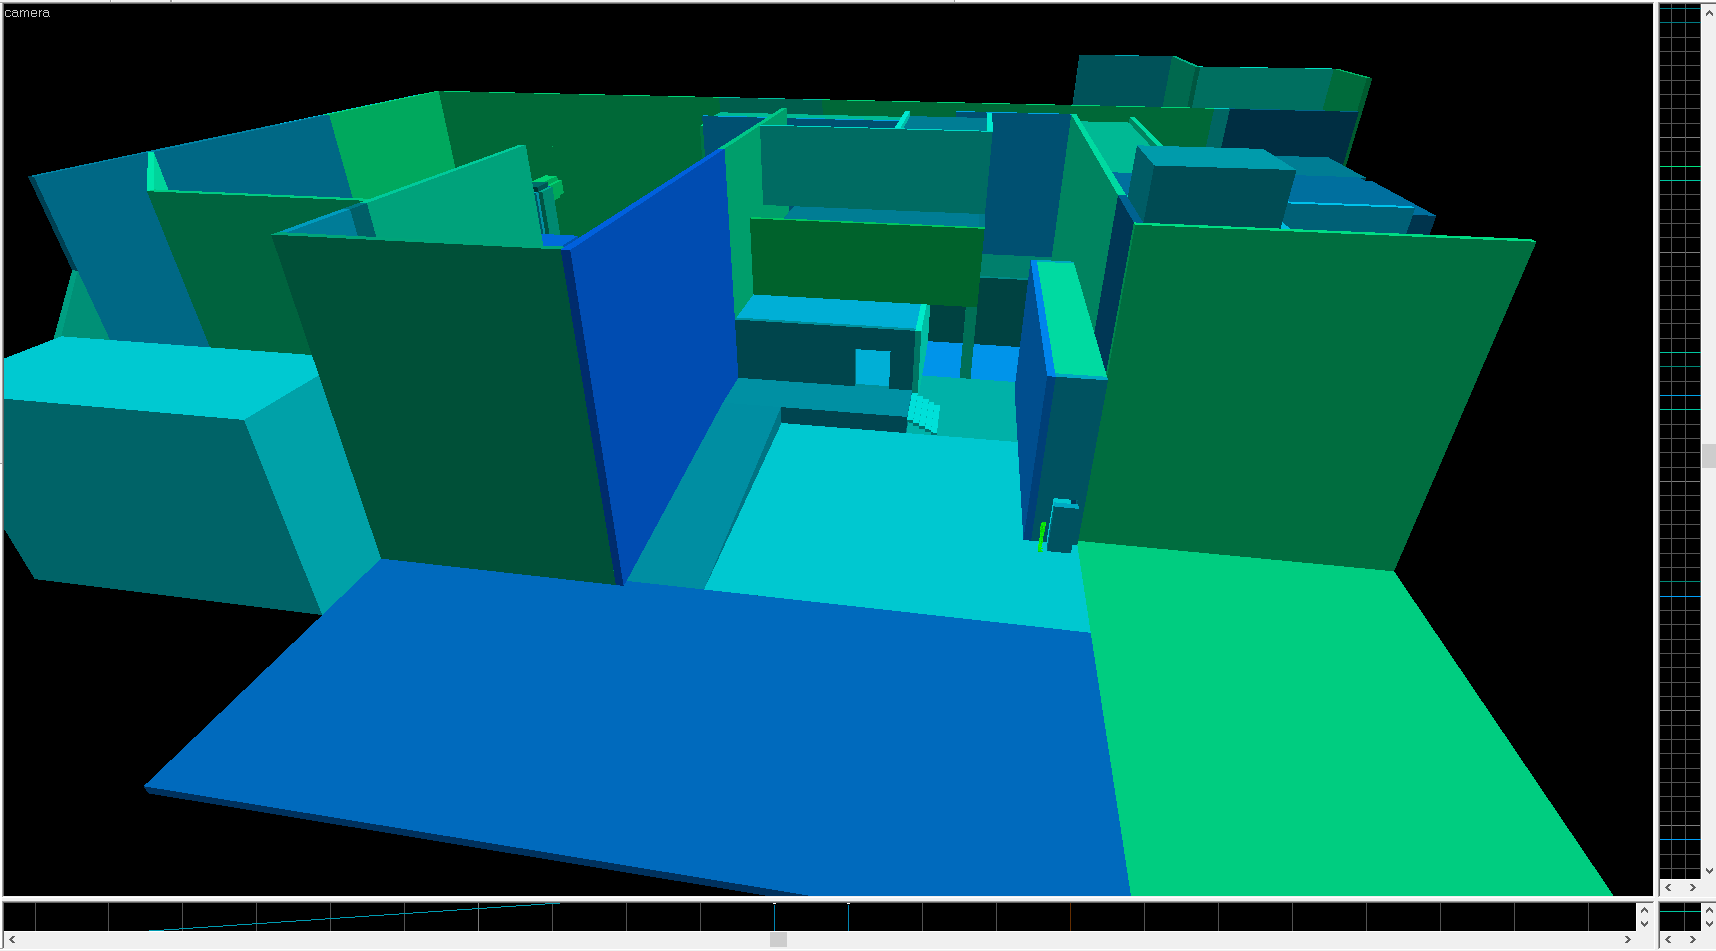
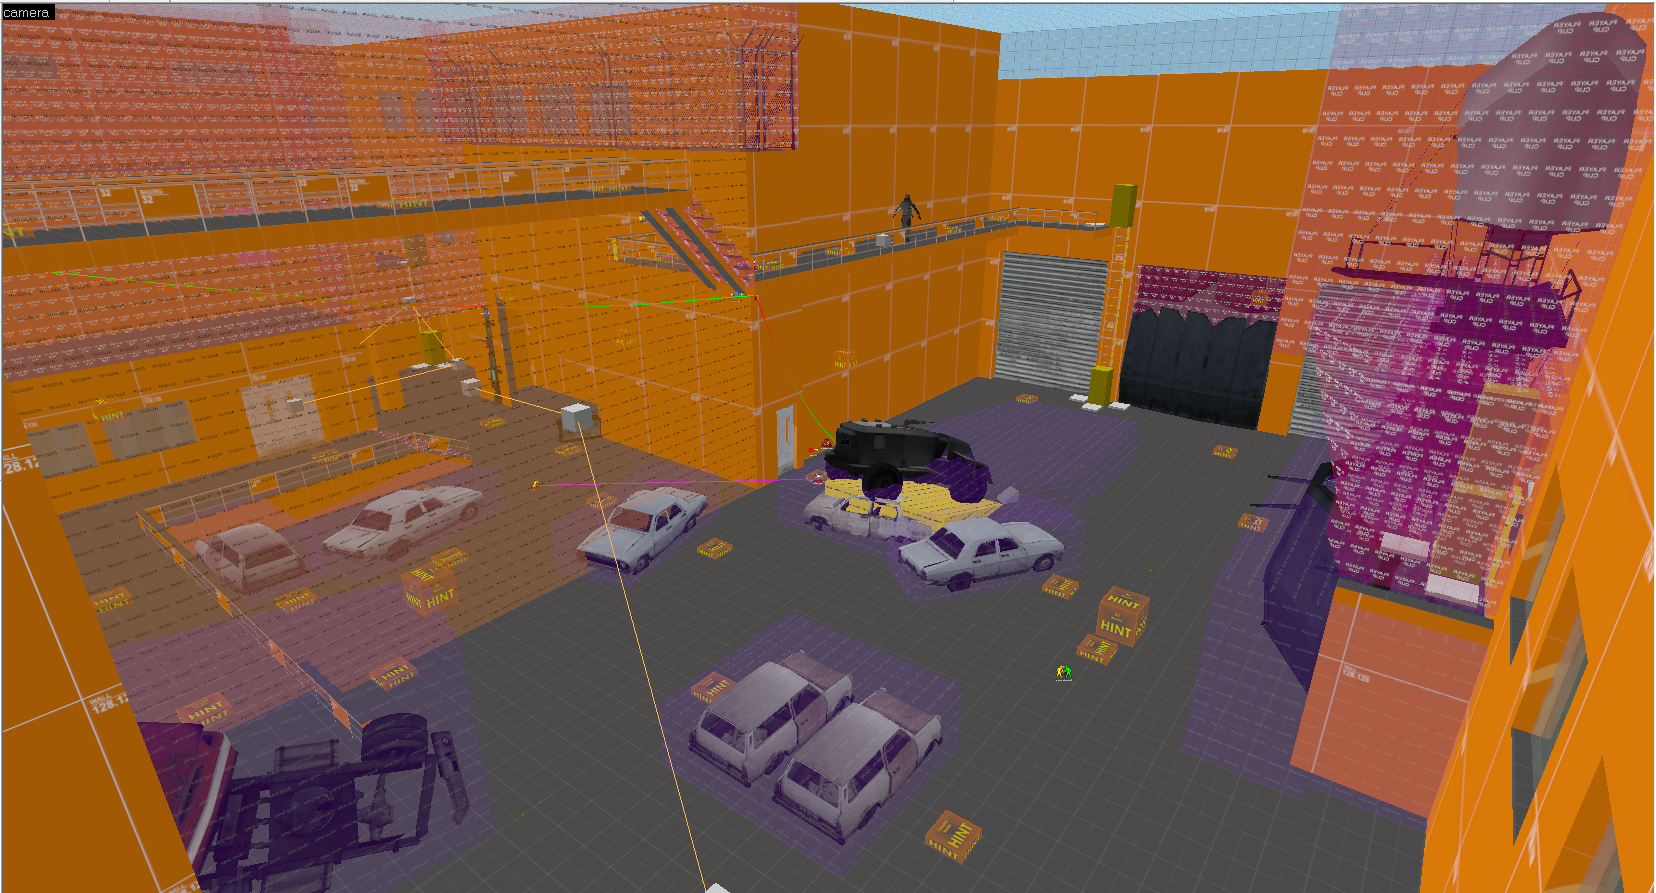
The second pass has three goals. 1) Apply a development material to all surfaces so the map is legible. 2) Tighten up geometry with more detail to sell the setting. 3) Add the gameplay elements required for traversal such as elevators, door triggers, and breakable environment pieces.
With this pass complete, the level should be ready for a first playthough. During this playthrough, I encountered a few bugs and gameplay issues. I took note of these and made sure to address them and run more tests until the issues were solved before moving to my next pass.
Once all issues are solved and I can play through without any issues and completing all non-combat gameplay, I am ready to move to the next pass.
blockout third pass
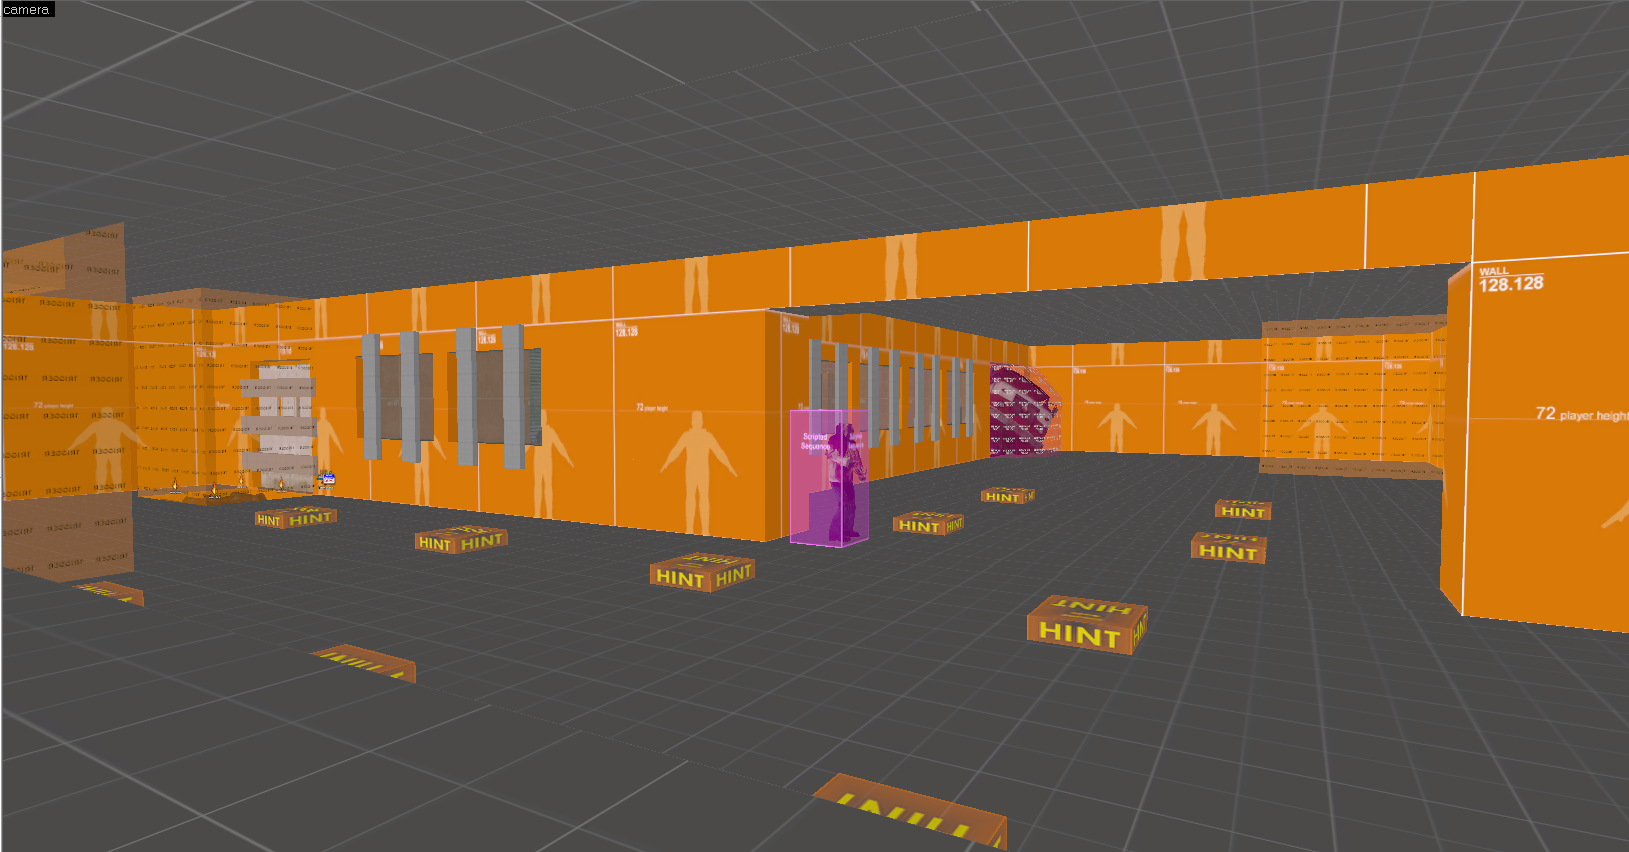
The goal of my third pass is to get AI in place. Since I already planned this in the sketch, it's a simple matter of implementation, testing, and adjusting the balance until the combat felt right.
With all of the AI in place, I'm ready to run another playtest.
This playtest presented a lot of issues, which is pretty common for a first pass of AI. I noted each one and ensured I was able to get a smooth experience before handing it to playtesters. No sense in having people playtest content I know is broken.
Once I was happy with where combat was and I had a complete experience, I handed this level to several players, none of which were familiar with the level or even Half-Life 2 or Source mods. I compiled a wide range of notes and feedback which I addressed in subsequent iterations. I continued testing between myself and others until the level was polished and had no consistent issues.
Generally, at this point, I would shift gears to environment art and continue to work on the level until it's ready to ship. In this case, however, I wanted to demonstrate pure design, so I considered the level complete.